
Only 2 days after Miss Kiki's Recognition Day at school, we started off on our journey to Japan. It was a girls-only trip with Oma! We were lucky to have caught Singapore Airlines Travel Fair for this trip thanks to our friend at TX Travel Ambassador.
Our flight was early in the morning with a few hours transit in Singapore. But no worries, Changi Airport has a lot to offer. They are not one of the best airports in the world for nothing!
If you want free wifi but don't want to release personal info, then simply go to an information desk and request a password for your device.

They had an activity booth near the Koi Pond that day so we stopped and participated.


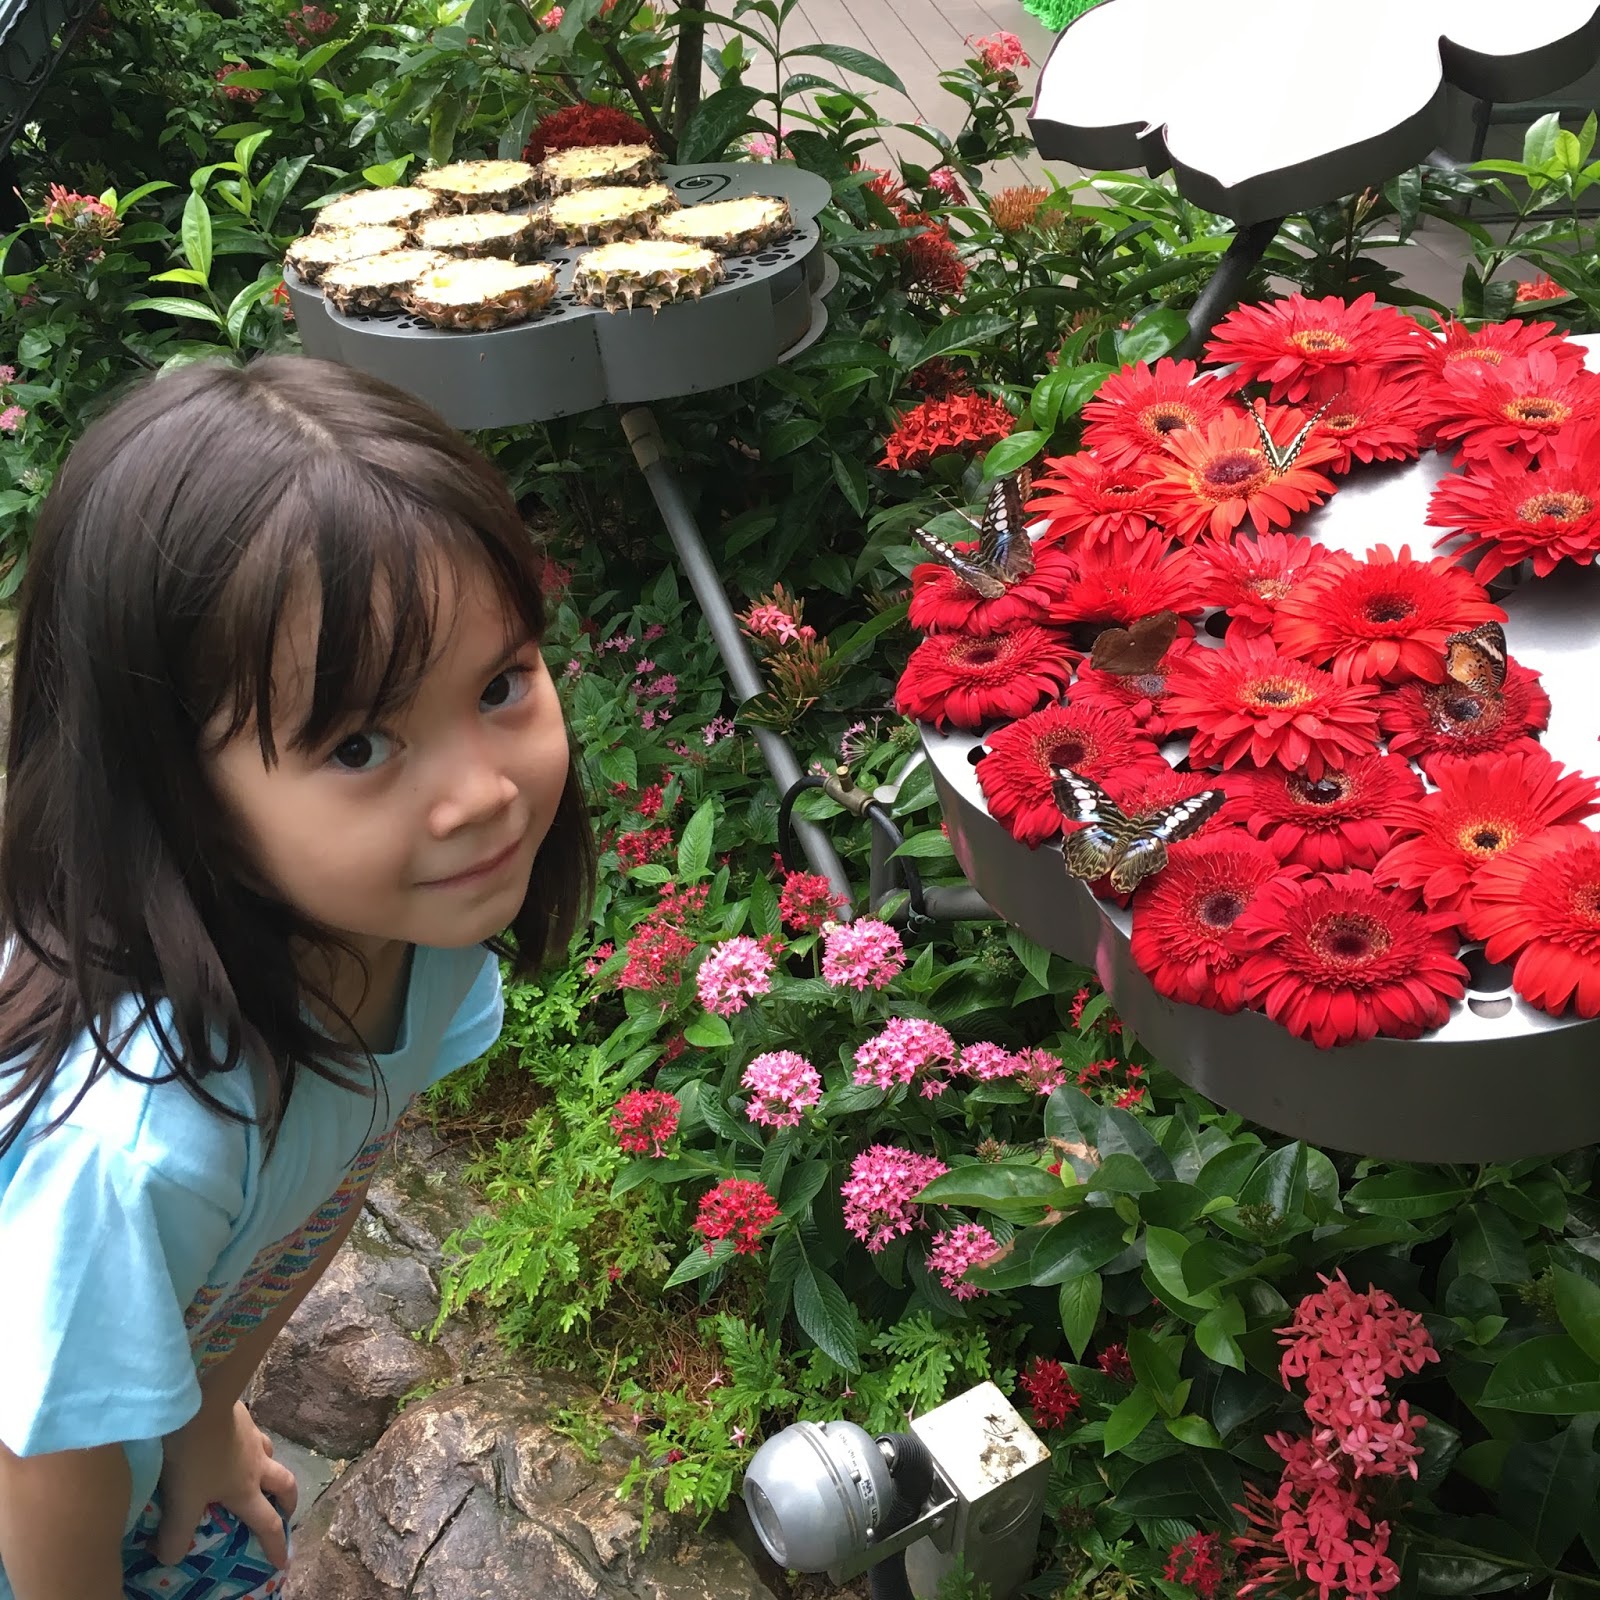
And of course, the butterfly garden is not to be missed...


Our little jetsetter fills up her own arrival and departure card for Japan.

And finally at 9:40 pm Tokyo time, we arrived!! We got through immigration, collected our luggages, and went through customs no problem. Then I went to pick up the pocket Wifi I ordered through JCB. If you have a JCB card, they have a promotion to rent a pocket Wifi for 600 yen per day for unlimited data. The device is a good one that lasted me almost the whole day. Say if we head out at 8 or 9 am then I only needed to charge it by 6 pm or so. Compared to the small pocket wifi that our AirBnb provided that only lasted 3-4 hours, this was very good! JCB promotion was offered through Gobal Wifi. I know it is easy enough to get a plan from Telkomsel for data roaming abroad, but I am sure the connection quality and connectivity is not the same. I didn't need to use my cellular connection with a pocket wifi so I just turned the Flight Mode on on my iPhone and that way the battery on my phone also tasted the whole day without re-charge.
With internet connection, traveling Japan is easy like a walk in the park. Well, most of the time anyway. I had booked an apartment through Airbnb in Shibuya area. It was a very good location, especially if you arrive and leave with your luggages before midnight. Otherwise you will have to haul your belongings uphill for 10-15 minutes.
Back to navigating the Japanese transport system. I simply entered the Shibuya Station on Google Maps, and choose the public transit option. It gave me several route options and the total cost. All I needed to do was go to the machine of the train company and buy tickets for the amount that Google Maps stated, go to the platform it said and wait for your train.
 |
| JR Train tickets. The one with the black circle with "small" character is for a child. |

And we finally arrived in Shibuya! This picture was taken at the famous Shibuya crossing. Note the number of people still out at almost 1 am.

The shortcut from the station was already closed at that time, so we had to walk on the street, hauling our luggages on the side walk going uphill. Not fun, but memorable for sure! We were lucky it wasn't raining!
 |
| At the apartment lobby |
We left our luggages in the room and went straight down and across the building to Family Mart to buy dinner. Miss Kiki had Onigiri while I bought a bento for myself. Oma opted for a sandwich. Having that Family Mart right across the street was super convenient!


Comments
Post a Comment